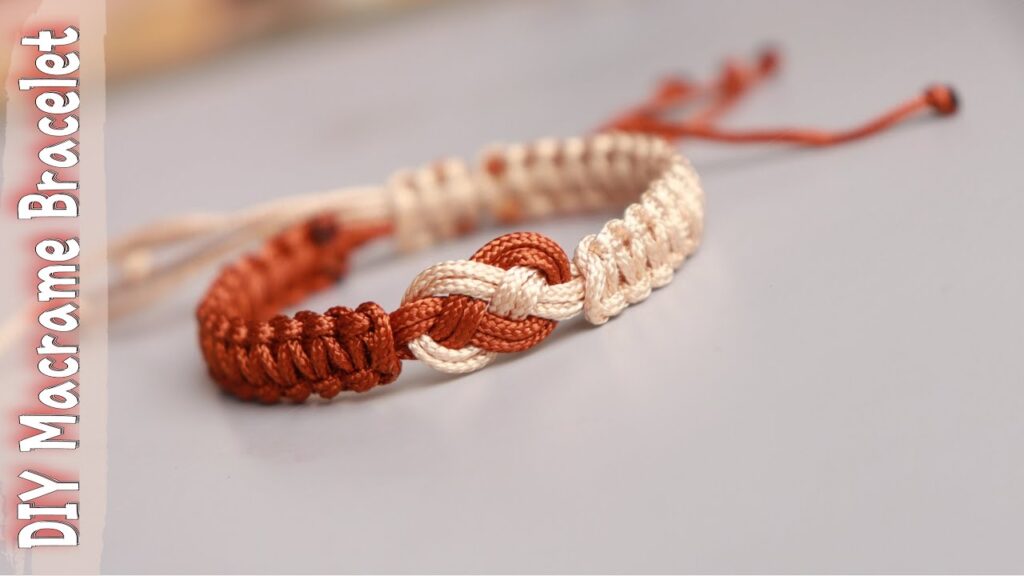
Macrame Bracelet | DIY | How To Make Macrame Bracelets
Macrame bracelets are not only stylish and trendy but also a fun and creative way to express yourself through handmade jewelry. Whether you’re a beginner or have some crafting experience, making macrame bracelets is an enjoyable DIY project that requires minimal materials and tools. In this blog post, we’ll guide you step-by-step on how to make your own macrame bracelet at home.
What is Macrame?
Macrame is a crafting technique that involves knotting cords or strings in patterns to create decorative items. It has been used for centuries to make everything from wall hangings to jewelry. The beauty of macrame lies in its simplicity and versatility, allowing you to customize your designs with different colors, patterns, and beads.
Materials You’ll Need
- Macrame cord or any sturdy string (about 1-2 mm thickness)
- Scissors
- Tape or clipboard (to hold your work steady)
- Beads (optional)
- Ruler or measuring tape
Step-by-Step Guide to Making a Basic Macrame Bracelet
Step 1: Measure and Cut Your Cord
Cut three pieces of cord:
- One center cord (about 12 inches long)
- Two working cords (about 24 inches each)
Step 2: Secure Your Cords
Place the center cord flat and secure it on your workspace using tape or a clipboard. Fold the two working cords in half and place them under the center cord, creating a loop at the top.
Step 3: Start Knotting (Square Knots)
The square knot is the foundation of many macrame projects.
- Take the left working cord and place it over the center cords, forming a “4” shape.
- Take the right working cord and place it over the tail of the left cord, then under the center cords and through the loop of the “4” shape.
- Pull both working cords to tighten the knot against the top loop.
- Repeat the process, but start with the right working cord this time to complete the square knot.
Step 4: Continue Knotting
Continue making square knots until your bracelet reaches the desired length. You can add beads by threading them onto the center cords before continuing the knots.
Step 5: Finish the Bracelet
Once you’ve reached the desired length, tie a secure knot at the end. Trim any excess cord, leaving enough length to tie the bracelet around your wrist.
Step 6: Wear and Enjoy!
Your handmade macrame bracelet is ready to wear! You can make multiple bracelets with different colors and patterns to match your style.
Tips for Success
- Keep your knots tight and consistent for a neat appearance.
- Experiment with different cords like hemp, cotton, or nylon for various textures.
- Try adding beads or charms to personalize your bracelet.
- Practice different knotting techniques such as half knots or spiral knots for more complex designs.
Conclusion
Making macrame bracelets is a rewarding and creative hobby that anyone can enjoy. With just a few materials and some practice, you can create beautiful, personalized accessories that make great gifts or additions to your jewelry collection. So grab your cords, start knotting, and let your creativity shine with DIY macrame bracelets!
Happy crafting!