Creating a construction schedule is a vital part of project management that ensures timely completion and efficient use of resources. Excel, with its flexibility and powerful features, is an excellent tool for developing a clear, detailed, and easy-to-update construction schedule. In this blog post, we’ll walk you through the process of preparing a construction schedule using Excel step-by-step.
Why Use Excel for Construction Scheduling?
- Cost-effective: Excel is widely available and does not require additional software purchases.
- Customizable: You can tailor schedules to fit the unique needs of your project.
- Easy to update: Changes can be made quickly without complex software knowledge.
- Visualization tools: Charts and conditional formatting help visualize timelines and progress.
Step 1: Define Your Project Scope and Tasks
Before jumping into Excel, list all the tasks and activities involved in your construction project. Break the project down into smaller, manageable parts such as:
- Site preparation
- Foundation work
- Framing
- Roofing
- Electrical and plumbing
- Interior finishing
- Inspections and approvals
Each task should have a clear start and end point.
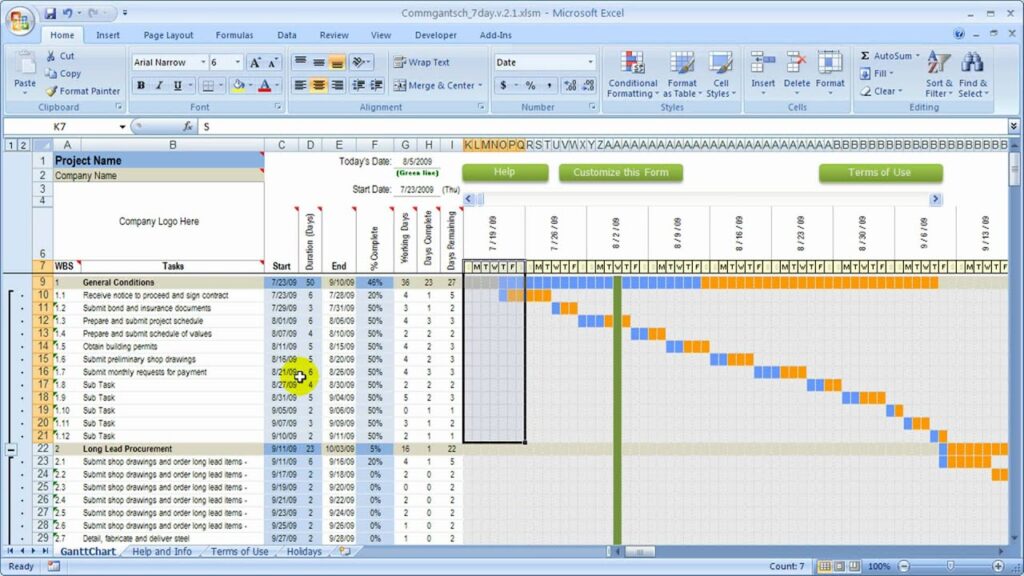
Step 2: Open Excel and Set Up Your Worksheet
- Open a new Excel workbook.
- Label the columns to organize your data effectively. A typical construction schedule will include:
| Task ID | Task Description | Start Date | End Date | Duration (days) | Predecessor | Status |
- Task ID: Unique identifier for each task.
- Task Description: Details of the construction activity.
- Start Date: When the task is scheduled to begin.
- End Date: When the task is scheduled to finish.
- Duration: Calculated as the number of days between start and end.
- Predecessor: Task ID of the preceding task that must be completed before this one starts.
- Status: To track progress such as Not Started, In Progress, or Completed.
Step 3: Input Your Project Tasks
Fill in the tasks you listed earlier into the worksheet. Include start and end dates based on your project timeline estimates. For example:
| Task ID | Task Description | Start Date | End Date | Duration | Predecessor | Status |
|---|---|---|---|---|---|---|
| 1 | Site Preparation | 06/01/2024 | 06/07/2024 | 7 | Not Started | |
| 2 | Foundation Work | 06/08/2024 | 06/15/2024 | 8 | 1 | Not Started |
| 3 | Framing | 06/16/2024 | 06/25/2024 | 10 | 2 | Not Started |
| … | … | … | … | … | … | … |
Step 4: Calculate Duration Automatically
To calculate the duration dynamically, use the formula in the Duration column:
= End Date - Start Date + 1For example, if Start Date is in column C and End Date is in column D, then in column E (Duration), enter:
= D2 - C2 + 1This will calculate the number of days for each task.
Step 5: Use Conditional Formatting to Visualize Progress
You can apply conditional formatting to the Status column to quickly identify the current state of each task:
- Not Started: Red fill
- In Progress: Yellow fill
- Completed: Green fill
To apply conditional formatting:
- Select the Status column.
- Go to Home > Conditional Formatting > New Rule.
- Choose Format only cells that contain.
- Set conditions for each status word and assign colors accordingly.
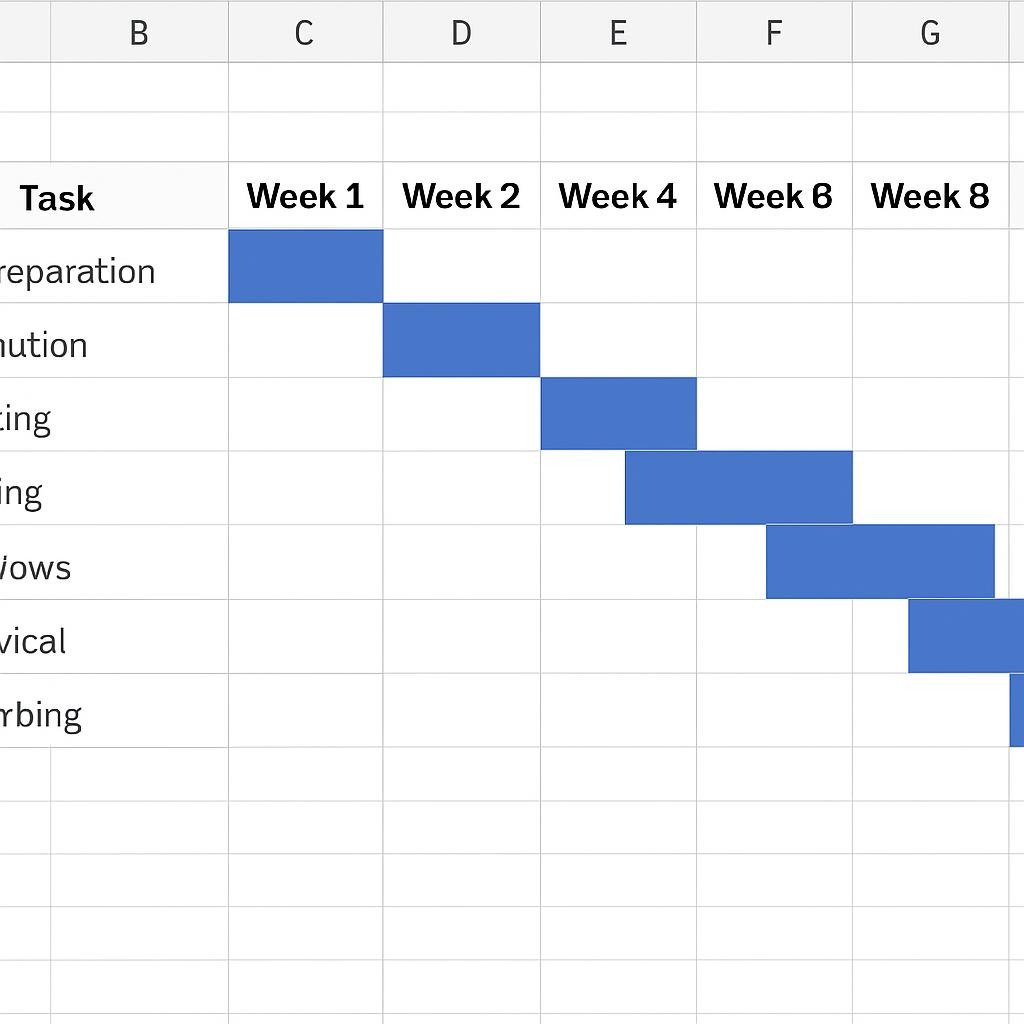
Step 6: Create a Gantt Chart for Visual Scheduling
Excel doesn’t have a built-in Gantt chart, but you can easily create one using bar charts:
- Add a new column titled Start Day Number to convert start dates into numbers relative to your project start.
- Use:
=C2 - $C$2 + 1(assuming project start date is in C2)
- Select the Task Description, Start Day Number, and Duration columns.
- Go to Insert > Bar Chart > Stacked Bar Chart.
- This will create a chart where the first series (Start Day Number) is invisible (no fill), and the second series (Duration) shows the length of each task.
- Format the chart by:
- Removing the fill from the Start Day Number series.
- Adding task names to the vertical axis for clear labeling.
- Adjusting date scales and colors to improve readability.
Step 7: Update and Maintain the Schedule
Construction projects are dynamic, and schedules need regular updates. Update:
- Task start and end dates when delays or accelerations occur.
- Status column as tasks progress.
- Duration recalculates automatically based on date changes.
- Gantt chart updates automatically to reflect schedule changes.
Tips for Effective Scheduling in Excel
- Use filters and sorting to manage large task lists.
- Add notes or comments for clarifications or to record issues.
- Link tasks logically by noting predecessors to understand dependencies.
- Backup your file regularly to prevent data loss.
- Consider using Excel templates or add-ins designed for project management to save time.
Conclusion
Using Excel to prepare a construction schedule is a practical and cost-effective method for project managers and construction teams. With clear task definition, structured data input, and visual tools like conditional formatting and Gantt charts, you can create an efficient and easy-to-update construction schedule that helps keep your project on track.
Start building your construction schedule today in Excel, and enjoy greater control and visibility over your project timeline!
Download a Free Construction Schedule Template
To help you get started quickly, download our free Excel construction schedule template [here]. Customize it to your project’s needs and streamline your scheduling process.
Feel free to leave comments or questions below about your experience using Excel for construction scheduling!